There’s something magical about painting Christmas decorations by hand. The cozy feeling of the holiday season, the traditional Christmas colors, and the little details that make each piece unique all come together in this festive watercolor painting. 🎄
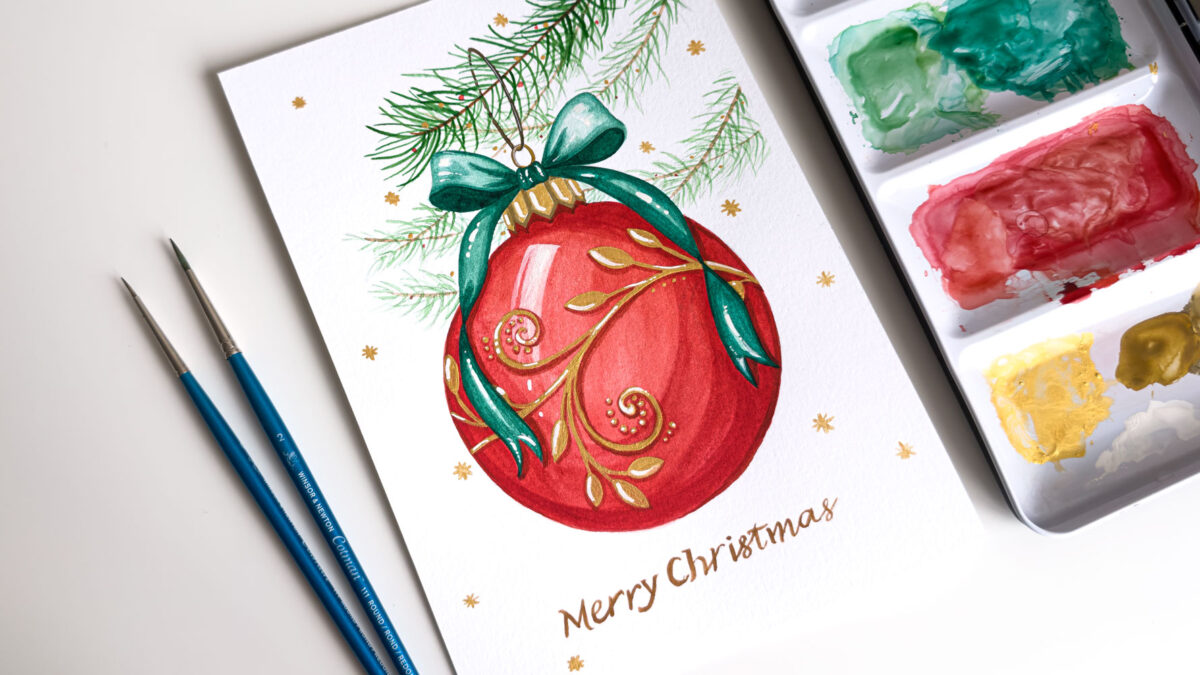
In this Christmas ornament watercolor tutorial, I’m painting a beautiful red Christmas bauble decorated with elegant gold patterns, a deep green ribbon, delicate pine branches, and tiny golden stars. I finish the illustration with a handwritten “Merry Christmas” greeting, turning the painting into a lovely handmade Christmas card.
If you’re looking for Christmas watercolor painting ideas, DIY Christmas card inspiration, or a relaxing holiday art project, I hope this tutorial inspires you to bring out your paints and create something special.
You don’t need to paint a complicated Christmas scene to make something beautiful. Sometimes, one ornament, a few festive colors, and some delicate details are all you need to capture the spirit of Christmas.
Watch the Christmas Ornament Watercolor Tutorial
Ready to paint a festive Christmas bauble with me?
In this video, I walk you through my process of painting a red Christmas ornament with watercolor, adding depth with layers of color, painting a green ribbon, and finishing the design with metallic gold details.
You can follow along with the tutorial or use it as inspiration for your own Christmas card design.
Watch the full video here:
Christmas Ornament Watercolor Tutorial 🎄 | DIY Christmas Card with Gold Details
Make yourself a warm drink, gather your favorite art supplies, and enjoy a cozy little painting session!
The Inspiration Behind This Christmas Watercolor Painting
For this illustration, I wanted to create a traditional Christmas feeling with a slightly elegant touch. The main subject is a rich red bauble, decorated with flowing gold patterns and a deep green ribbon.
Pine branches frame the ornament and help create a festive atmosphere, while the tiny golden stars add a little sparkle to the composition. The handwritten “Merry Christmas” greeting at the bottom completes the design and makes it feel like a personal holiday card.
I love how these simple elements work together to create a painting that feels both decorative and cozy. It’s inspired by the familiar colors and details of Christmas decorations, but the hand-painted finish gives it a personal touch.
This kind of artwork is also a lovely reminder that handmade gifts don’t have to be complicated. A small painting made with care can become a meaningful way to share the holiday spirit with someone you love.
Choosing a Festive Christmas Watercolor Palette
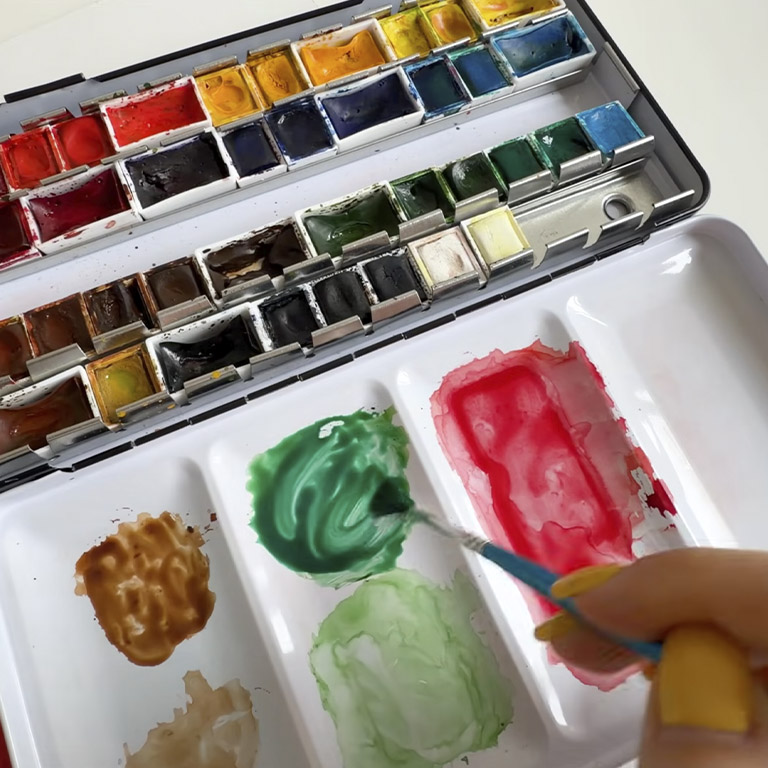
One of my favorite parts of this painting is the combination of traditional Christmas colors. The contrast between the rich red ornament, deep green ribbon, and metallic gold patterns gives the illustration its festive character.
Here are the main colors and their roles in the composition.
1. Rich Red for the Christmas Bauble
Red is the main color of this painting. I build up the color gradually, starting with a light, diluted red wash and adding darker layers to create shadows and depth.
Rather than painting the ornament in one flat shade, I leave some areas lighter and deepen others. This helps create the rounded appearance of the bauble and gives it a more dimensional look.
2. Deep Green for the Ribbon
The green ribbon provides a beautiful contrast against the red ornament. I create the color using a mixture of green and blue, then gradually build up the darker areas to show the folds of the ribbon.
The lighter areas help suggest the light reflecting on the ribbon, while the darker shadows give it shape and volume.
3. Soft Greens and Browns for the Pine Branches
The pine branches add a natural element to the composition. For the branches in the background, I use lighter, more diluted colors so they appear softer and less detailed.
The branches in the foreground are painted with stronger, more concentrated colors. This contrast helps create a sense of depth and keeps the ornament as the main focus.
4. Metallic Gold for the Decorative Details
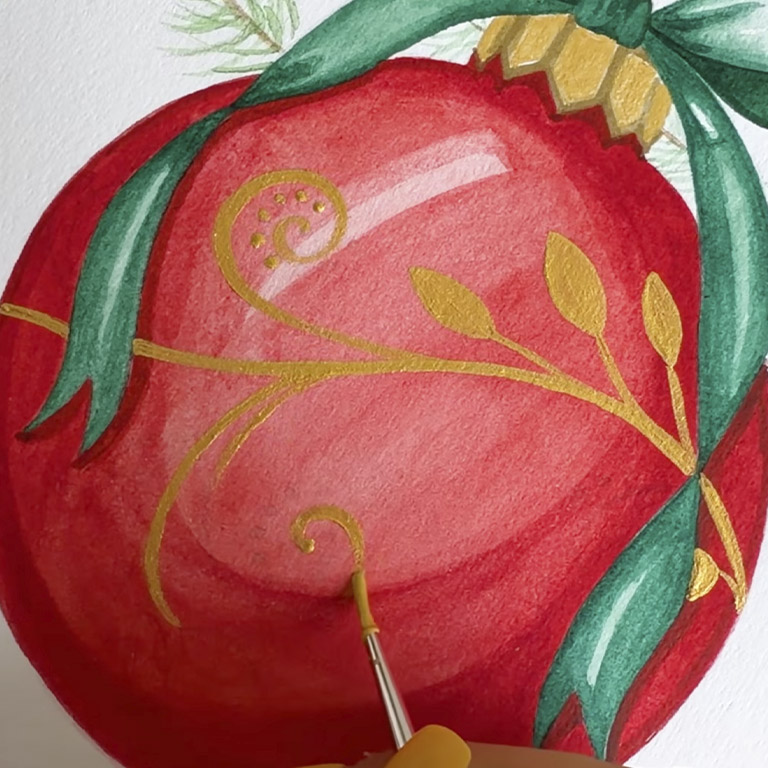
The gold details bring the whole design together. I use gold gouache to paint the ornament’s decorative patterns, the details around its top, and the tiny stars scattered around the card.
For some of the details, I mix the gold gouache with a little brown watercolor to create a deeper gold tone. I then use the gold on its own for brighter, more noticeable accents.
The metallic finish adds a lovely festive touch, especially when it catches the light.
Watercolor Techniques Used in This Painting
This Christmas bauble painting is a great opportunity to explore several watercolor techniques, especially layering, light and shadow, and creating depth through color.
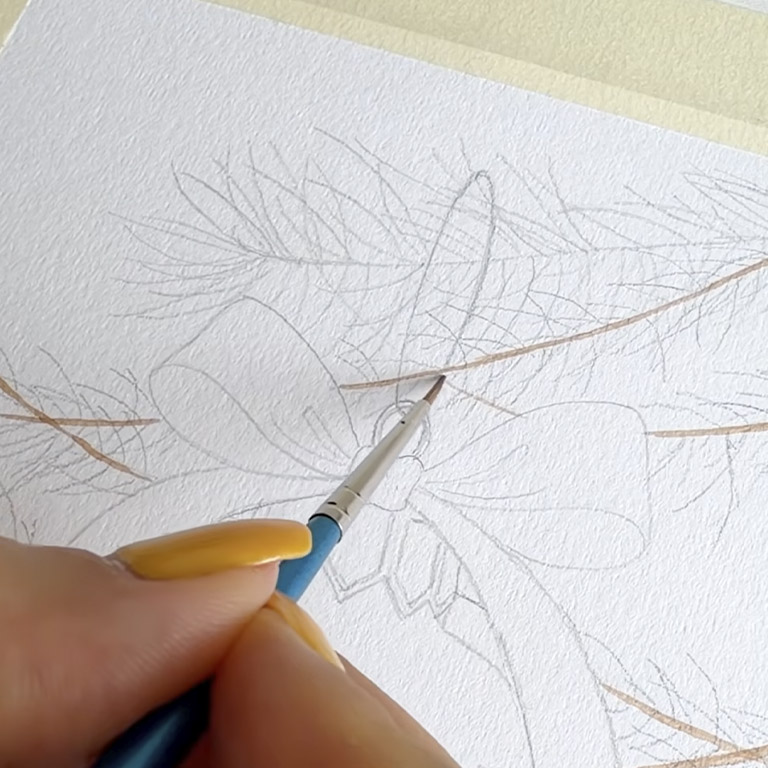
1. Painting the Pine Branches in the Background
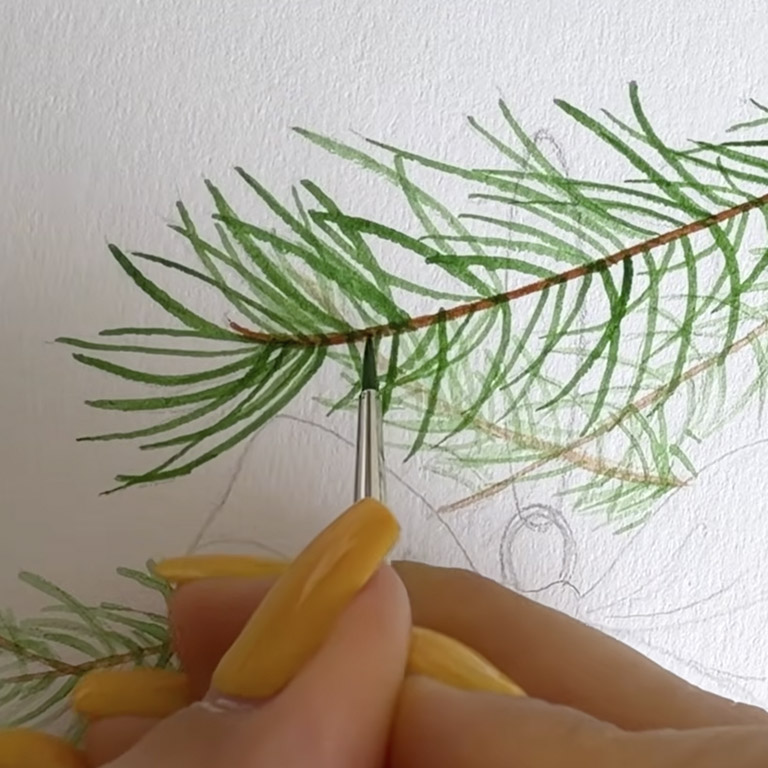
I begin with the pine branches behind the ornament. Since these branches are further away, I use a more diluted mixture of green and brown.
Adding more water makes the colors lighter and softer, helping the background branches recede visually. I keep them less detailed so they don’t compete with the main subject.
For the branch in the foreground, where the ornament hangs, I use richer and more concentrated colors. This difference in color intensity helps separate the foreground from the background and makes the composition feel more dimensional.
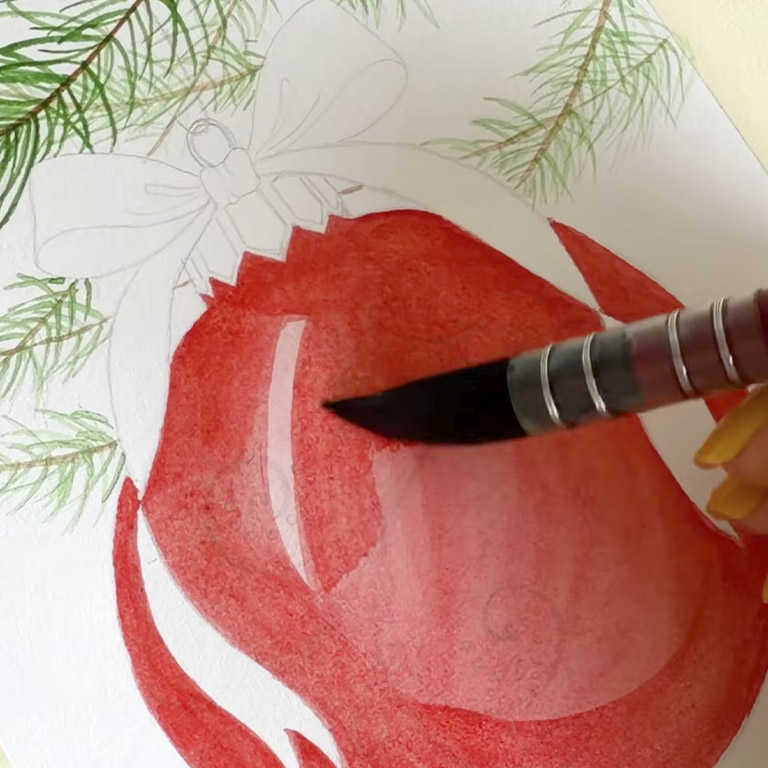
2. Building Up the Red Ornament with Layers
After painting the background branches, I move on to the red bauble.
I first wet the ornament with a large brush, then apply a light, diluted layer of red. I gradually add more layers, making the color richer while leaving certain areas lighter to preserve the highlights.
With darker red washes, I paint the shadow areas around the edges and near the top. I also add the shadow cast by the ribbon onto the ornament.
Working from light to dark helps me control the color and create a rounded shape without losing the lighter areas that suggest reflected light.
The important thing is to build up the shadows gradually rather than making everything dark at once.
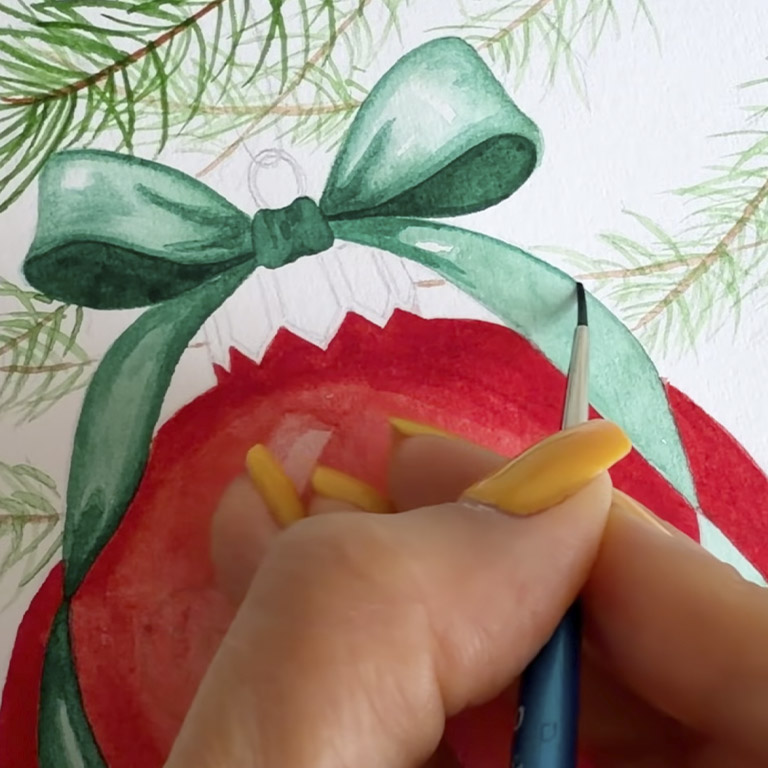
3. Creating Volume in the Green Ribbon
Once the ornament has taken shape, I paint the ribbon using a mixture of green and blue.
I work carefully with smaller brushes, gradually adding color to the different sections of the ribbon. I pay particular attention to the folds, overlapping sections, and the inner part of the knot, where the shadows are deepest.
Instead of using one flat green color, I build up several layers to create contrast between the highlights and shadows.
This is one of the most delicate parts of the painting, so I take my time and allow the details to develop slowly.
4. Adding Gold Gouache Patterns
Now comes one of my favorite parts: adding the metallic gold details!
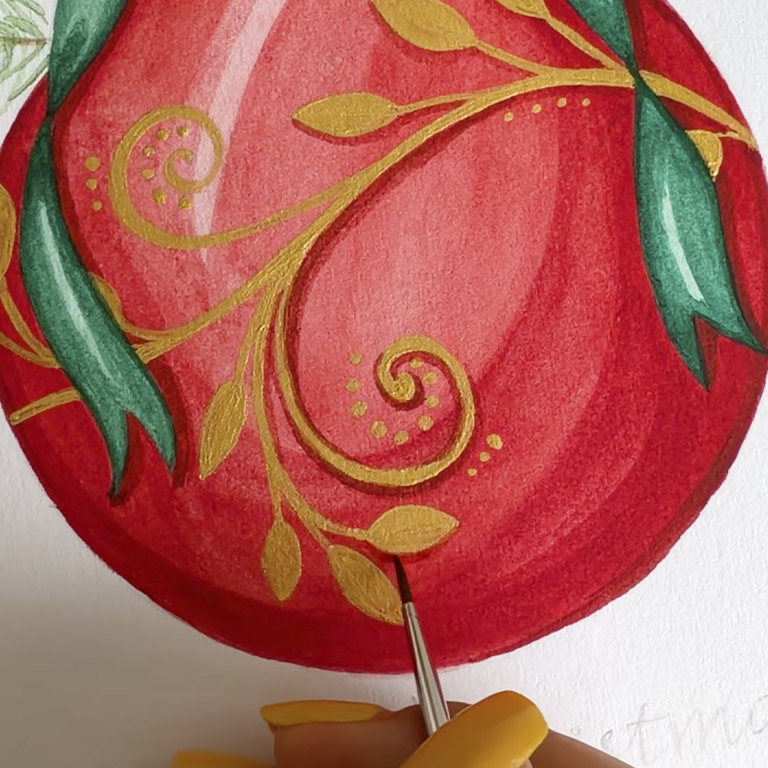
I use gold gouache for the decorative patterns on the ornament, including the curved lines, leaves, and small dots. A small brush is especially helpful here because it allows me to paint fine lines and delicate shapes.
For some areas, I mix the gold with a little brown watercolor to make it darker. Then I use the pure gold gouache for the brighter details.
After painting the patterns, I deepen the red shadows beneath some of the gold lines. This makes the decorative elements stand out more clearly against the ornament.
You don’t need the exact same brand of gold paint to try this. Gold gouache or metallic gold watercolor can both be lovely options, depending on the supplies you have.
5. Adding the Final Christmas Details
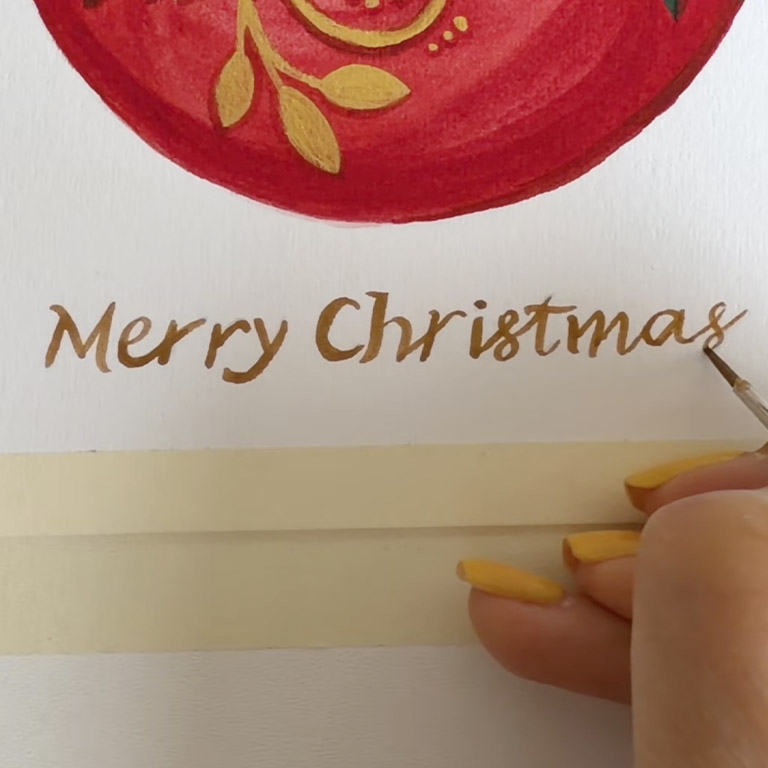
To finish the illustration, I use the same gold mixture to write “Merry Christmas” at the bottom of the card.
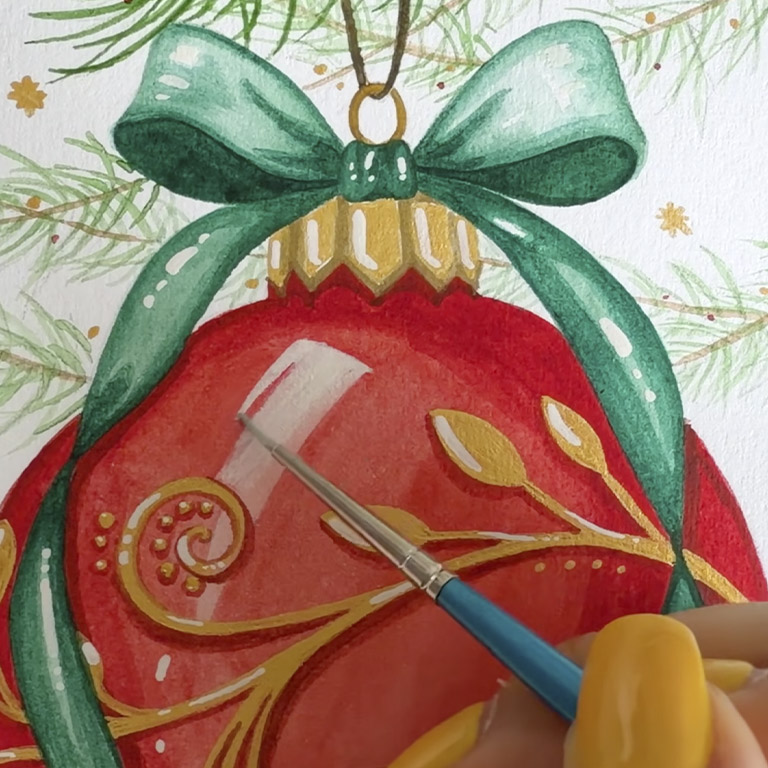
I then add tiny golden stars around the composition and small red dots along the pine branches to suggest Christmas tree lights.
Finally, I use white gouache to add the brightest highlights. These small touches help bring out the contrast and give the ornament a more polished, sparkling appearance.
It’s often these final details that make a painting feel complete.
Turn Your Watercolor Painting into a Handmade Christmas Card
One of the best things about painting a Christmas ornament is how easily you can turn the finished artwork into a greeting card.
A handmade Christmas card is a thoughtful way to send holiday wishes to family and friends. You can recreate this design, change the colors, or use the ornament as inspiration for a completely different composition.
Here are a few ways to make the design your own:
- Experiment with colors: Try a green, blue, burgundy, or pastel ornament instead of traditional red.
- Change the gold patterns: Add your own lines, leaves, dots, or decorative shapes.
- Personalize the greeting: Write a message that feels special to the person receiving your card.
- Use it for gifts: A small hand-painted ornament illustration can also inspire gift tags and other festive paper decorations.
You don’t have to follow every step exactly as I do. Use the supplies you already have, try different techniques, and enjoy creating something in your own style.
Get the Printable Christmas Ornament Sketch PDF
Would you like to paint this Christmas ornament design without drawing the entire illustration from scratch?
You can get the Printable Christmas Ornament Sketch from Cozy Colors Studio. The downloadable sketch gives you an outline to work from, so you can focus on choosing your colors, practicing watercolor techniques, and adding your own creative details.
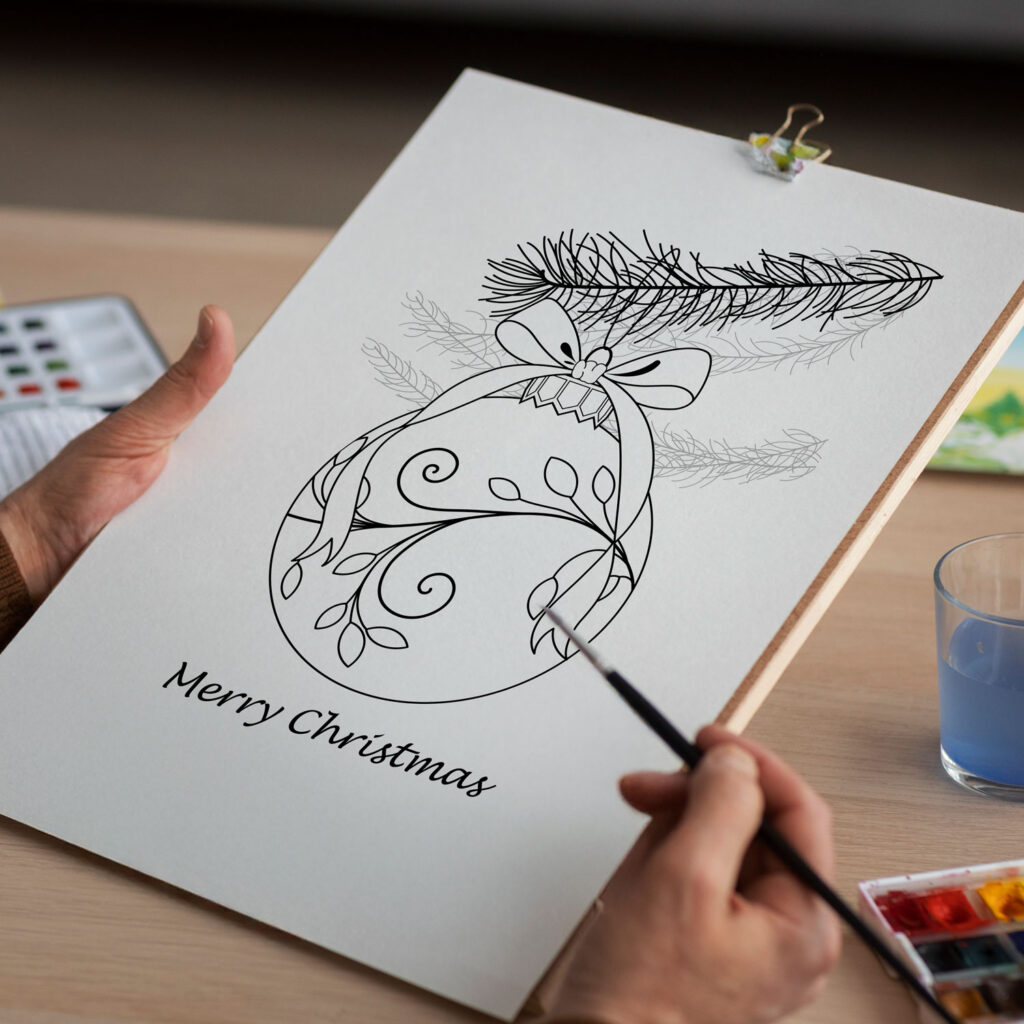
Printable Christmas Ornament – Christmas Tree Red Bauble Sketch (PDF Download)
Paint your own festive Christmas card with this printable ornament sketch PDF.
Download and print the design, then add your favorite colors and details using watercolor, gouache, colored pencils, or other suitable art supplies.
Print the sketch and use it as a starting point for your Christmas watercolor painting. You can follow the original red-and-green color palette or experiment with different colors and decorative details.
It’s a lovely option for a cozy Christmas art session or for anyone who wants to create a handmade holiday card with a little guidance.
Get the Printable Christmas Ornament Sketch (PDF)
The sketch can also be a fun way to explore other materials, such as colored pencils or gouache, depending on the paper you print it on.
Explore More Christmas Watercolor Tutorials
If you enjoyed this Christmas ornament painting, explore more festive art ideas on Cozy Colors Studio. From watercolor Christmas cards to seasonal illustrations, there are plenty of ways to make time for creativity during the holidays.
You can also visit my shop to discover more printable sketches that you can download, print, and paint using your favorite art supplies.
I hope this tutorial inspires you to slow down, enjoy the process, and create something beautiful for the people you love.
Wishing you a colorful, delicious Christmas filled with cozy, joyful moments! 🎄✨
Thank you for painting with me, and happy creating!